
How to Replace an Over-the-Range Microwave with a Proper Range Hood
Replacing an over-the-range microwave with a dedicated range hood is one of the most effective ways to improve kitchen ventilation and indoor air quality. The process typically involves removing the microwave, disconnecting any ductwork, removing the mounting bracket, and installing a properly sized, HVI-certified range hood with adequate airflow for your cooking habits.
Many homeowners assume replacing an over-the-range (OTR) microwave is a major renovation project, but in most kitchens the process is relatively straightforward. The most important decisions happen before installation: selecting the correct hood width, determining the airflow (CFM) you need, and choosing a model that provides effective smoke, grease, and odor capture.
For additional background, see Range Hood vs Over-the-Range Microwave: Why Proper Ventilation Matters.
Choosing the Right Range Hood Before Installation
Match the Width of the Existing Microwave
Most over-the-range microwaves are 30 inches wide. Your replacement range hood should generally match this width to maintain proper coverage over the cooking surface and create a clean, built-in appearance.
Determine the Airflow You Need
The required airflow depends largely on how you cook.
| Cooking Style | Recommended Airflow |
|---|---|
| Light to moderate cooking | 300+ CFM |
| Frequent high-heat cooking or gas cooking | 300–600 CFM |
| Heavy frying, searing, or professional-style cooking | 600+ CFM |
Learn more in Range Hood CFM Guide: How to Choose the Right Power for Your Kitchen.
Select a High-Performance Hood
Look for a range hood that:
- Matches the width of the existing microwave opening.
- Extends approximately 18 inches or more from front to back for improved capture.
- Includes Home Ventilating Institute (HVI) certification.
- Provides airflow appropriate for your cooking habits.
HVI certification helps ensure that published airflow and sound ratings have been independently tested and verified.
Step-by-Step: Removing the OTR Microwave and Installing a Range Hood
Step 1: Unplug the Microwave
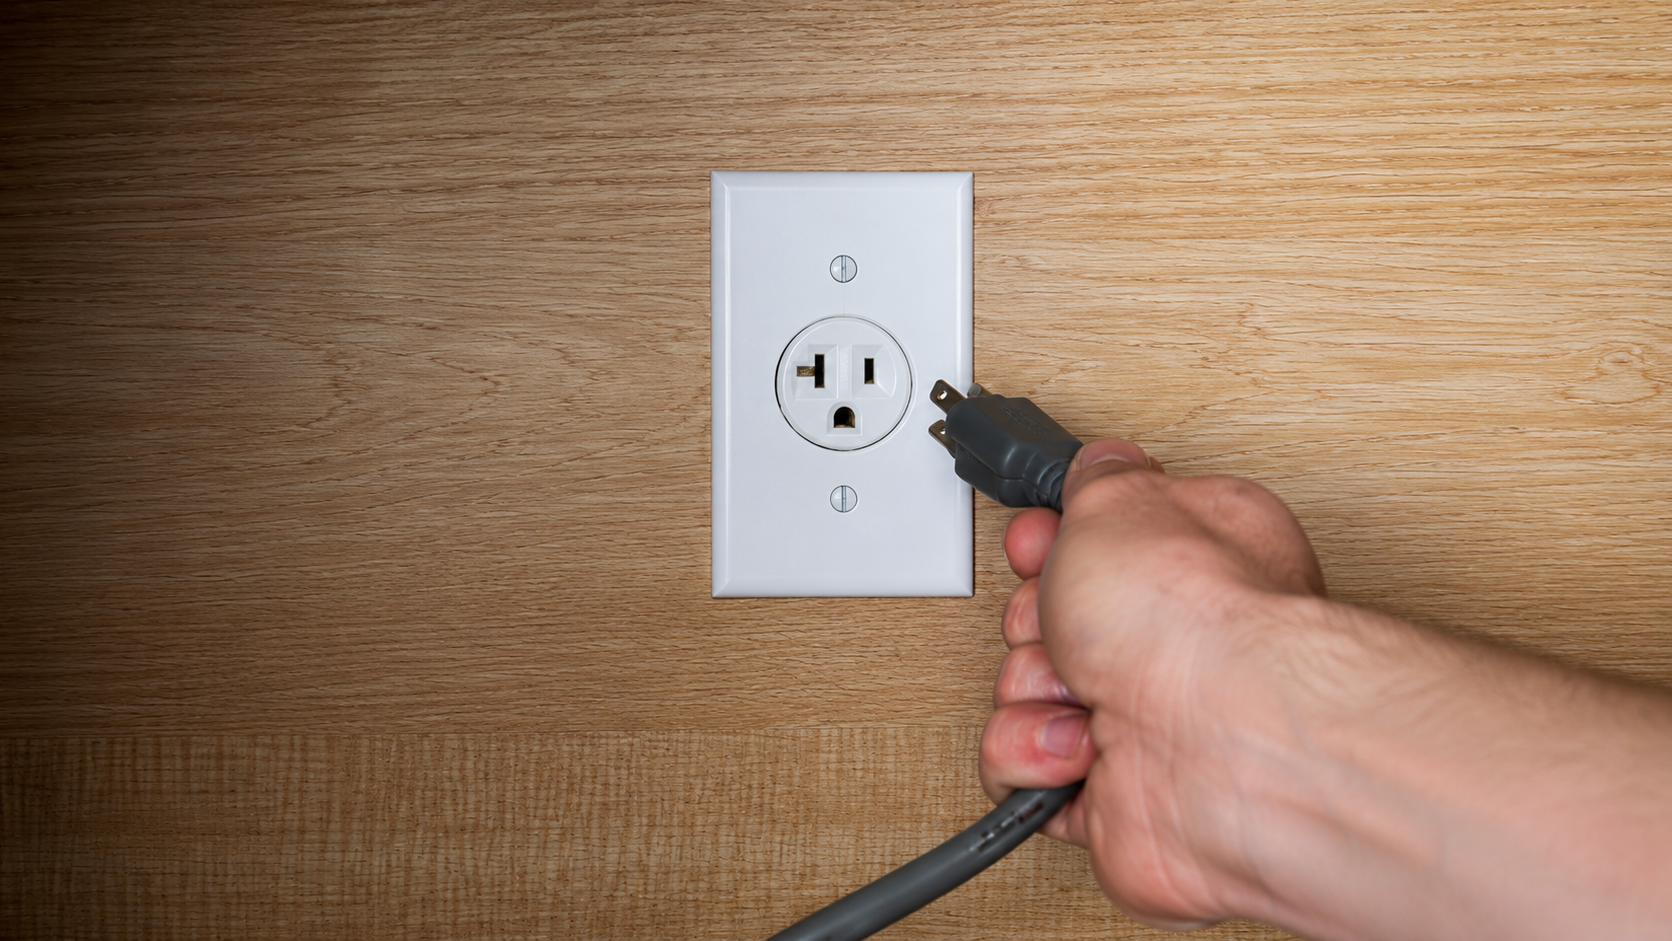
Disconnect power by unplugging the microwave from the cabinet outlet above. This eliminates electrical risk before beginning removal.
Step 2: Protect the Cooktop and Countertops
Place cardboard, moving blankets, or drop cloths over nearby surfaces to prevent scratches, dents, or other damage during removal.
Step 3: Disconnect Existing Ductwork
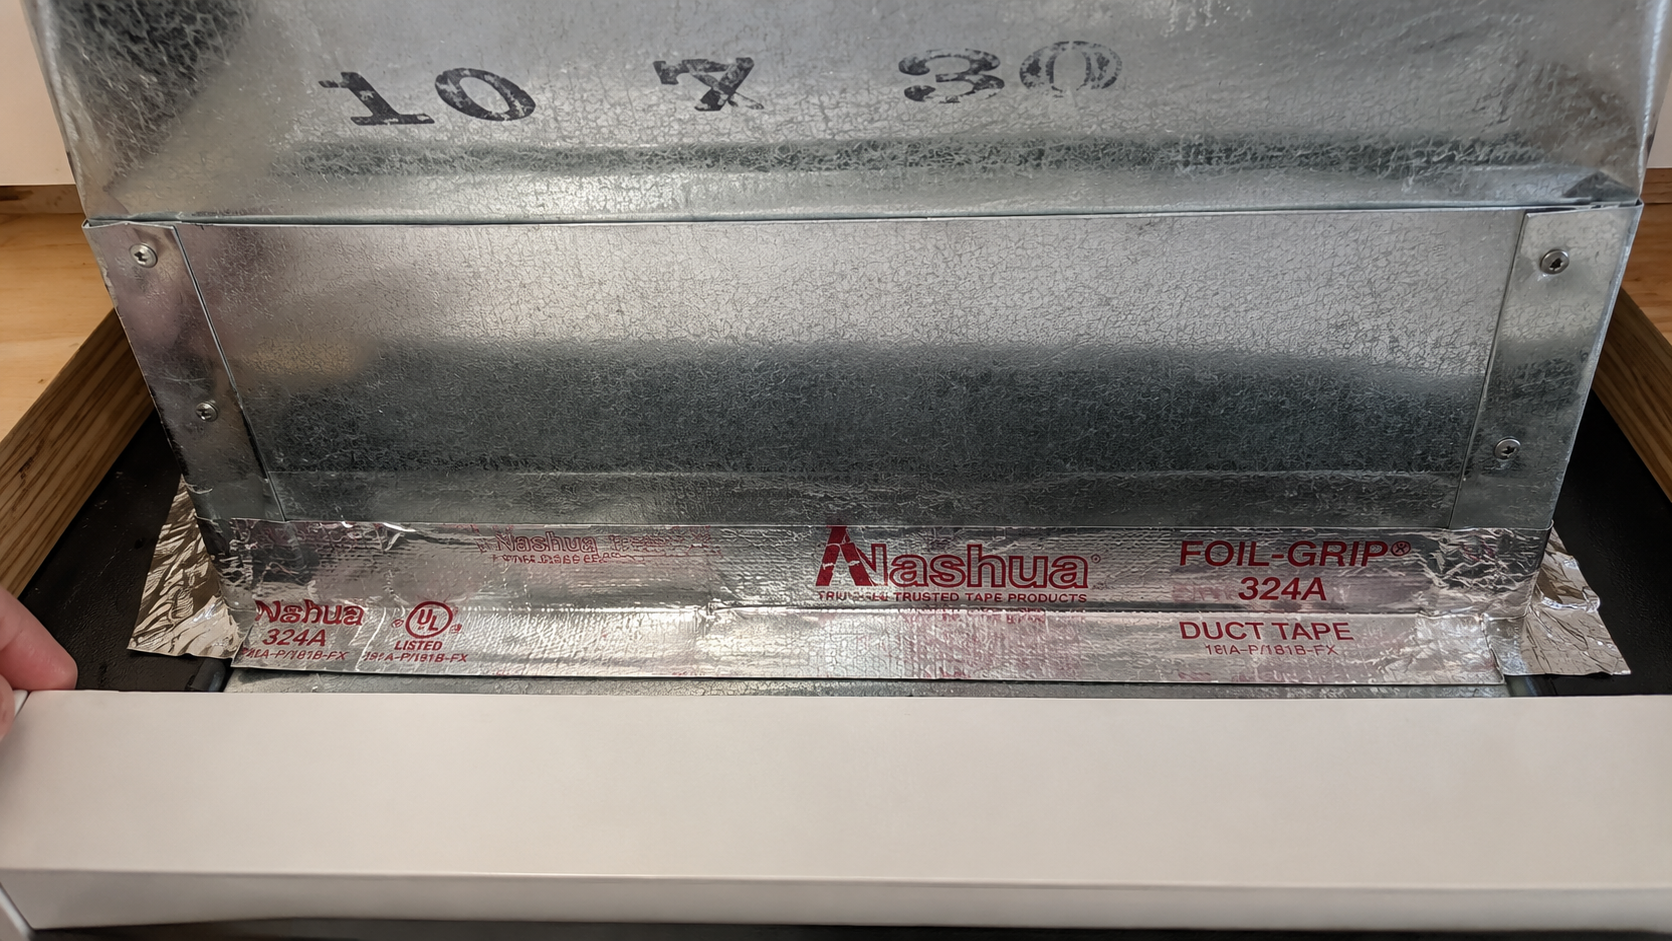
If the microwave is vented outdoors, remove any tape or fasteners connecting the ductwork to the microwave duct adapter. Carefully move the duct aside.
Step 4: Remove the Cabinet Support Screws
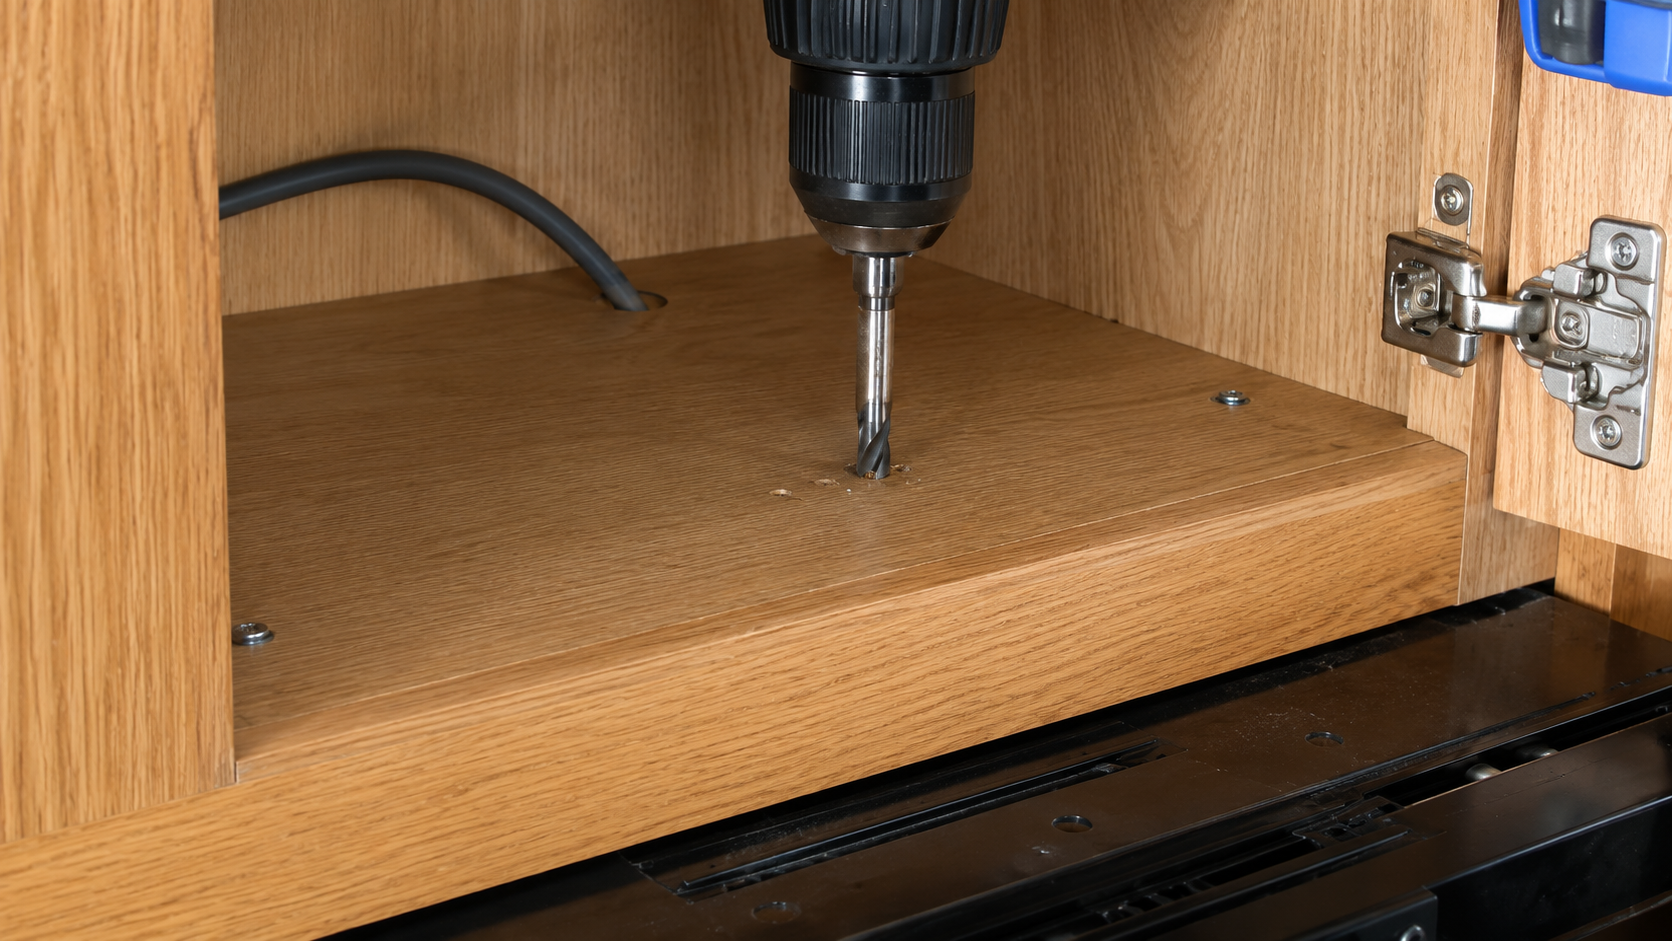
Most OTR microwaves are secured to the upper cabinet with two mounting screws.
- Have a second person support the microwave.
- Remove both mounting screws.
- Maintain support throughout the process.
The rear wall bracket typically continues supporting the microwave until it is tilted forward and removed.
Step 5: Remove the Microwave from the Wall Bracket
With two people supporting the appliance, tilt the front downward and lift the rear upward to disengage it from the wall bracket. Carefully lower the unit onto a protected surface.
Step 6: Remove the Wall Mounting Bracket
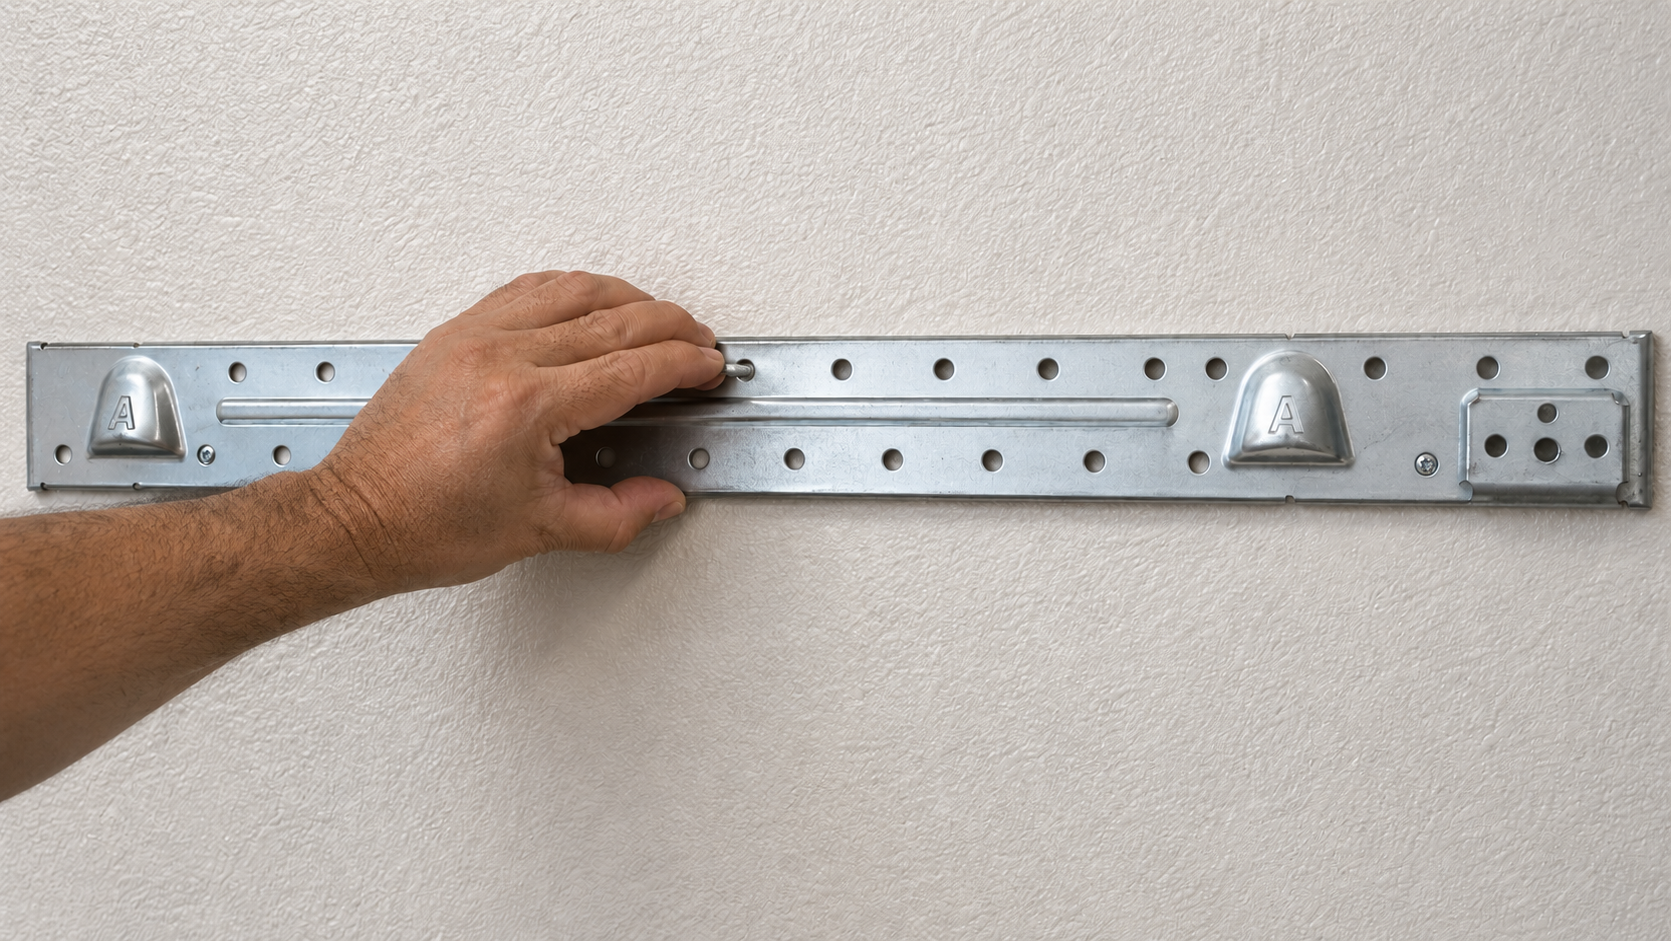
After the microwave is removed, detach the mounting bracket from the wall. Repair screw holes and prepare the area for the new hood installation.
Step 7: Install the New Range Hood
Follow the manufacturer's installation instructions for mounting, electrical connection, and duct attachment. Many modern under-cabinet range hoods include simplified mounting systems that make alignment and installation easier.
Why Replacing an OTR Microwave with a Range Hood Is Worth It
A dedicated range hood typically provides significantly better smoke, grease, moisture, and odor capture than an over-the-range microwave ventilation system.
Key benefits include:
- Improved indoor air quality.
- Reduced grease accumulation on cabinets and surfaces.
- Better removal of cooking odors.
- Lower moisture levels during cooking.
- Enhanced visibility over the cooktop.
- Improved kitchen comfort during high-heat cooking.
For households that cook frequently, replacing an OTR microwave with a properly sized range hood is often one of the most valuable kitchen ventilation upgrades available.
Frequently Asked Questions
Can I replace an over-the-range microwave with a range hood?
Yes. In most kitchens, the microwave can be removed and replaced with an under-cabinet or wall-mounted range hood, provided proper electrical and ducting requirements are met.
What size range hood should replace a 30-inch microwave?
A 30-inch range hood is the most common replacement. Some homeowners choose a wider hood for increased capture performance when space allows.
How much CFM do I need for a range hood?
Many homeowners need at least 300 CFM. Heavy cooking, gas ranges, and professional-style appliances often benefit from 600 CFM or more.
Do I need a ducted range hood?
Ducted range hoods generally provide the best ventilation because they remove smoke, grease, moisture, and odors from the home rather than filtering and recirculating them.
Can I install a range hood myself?
Many homeowners can complete the installation, especially when replacing an existing vented microwave. Electrical or duct modifications may require professional assistance.
What is HVI certification?
HVI certification means a range hood's airflow and sound ratings have been independently tested and verified by the Home Ventilating Institute.